
Wow this was a fun weekend.
 On Saturday, I was able to deliver a completed baby sweater. I finished attaching the sleeves on the way and wrapped it in a clever tiny box that even came with its own ribbon - though my mom who was driving would disagree, I was very glad for the traffic and the one missed offramp. It took 4 balls of Debbie Bliss Baby Cashmerino - I barely had enough of the fuscia and more than enough of the green left over, just enough light pink though.
 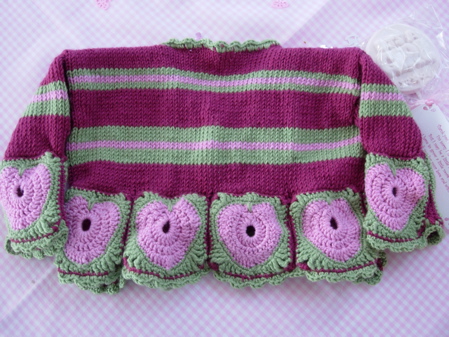 I had originally imagined the body and the sleeves to be knitted out of fuscia. The stripes came into the plan when I realized that one ball wasn't going to go that far and that there was no more fuscia at the Garden. Then, the scalloped edge was realized when I saw the need for more unity between the knitted and crocheted bits. I am really pleased with how it evolved through the process.I am probably a little too pleased with myself since I am overwhelming this post with images of this little sweater.
 My camera was warning with a low battery graphic, so I didn't get a chance to take any pictures of the really lovely work that my SIL's mom did on the sweetest crochet spring dress ever and a gorgeous pink lace blanket. The dress was quite a sight - it was crocheted in a lace weight and had a beautiful reversible skirt that was mainly pink on one side and white on the other, with the opposing color peaking through a gossamer flow of lace.
 Perhaps, if I hadn't been so self absorbed, I could have shared that with you. I promise to share it when this gorgeous little girl is toddling around wearing the gorgeous piece of art. If she is anywhere as cute as her big brother (my sweet nephew), then this child will be quite a lovely tornado.
The second thing that I am very glad to share is the process for making the tiny wooden needles. This process was researched by Ms. Newbill and we executed it together.
Materials: *Wooden Dowels - 1 per set of needles for the teeny needles, 2 per set of longer needles (the circumference was equal to US#8's - you can get these at Michael's) *Pencil Sharpener - you can get little electric ones (saves on blisters) *Xacto miter box and saw set *Emery Boards *Wax paper (optional - we didn't have time for this step) *hot glue gun *large holed wooden or plastic beads (two per pair)
Step One: Sharpen the ends of the dowels - both ends for the short and one end for the long. Use the emery board to smooth the newly sharpened points and to smooth out the body of the soon to be needle. When using the emery board, you have a chance to refine the tip. I tried to take after the shape of the Brittany needles, where it is pointy but not sharp. Take a look for yourself at the tip of your favorite wooden needle.
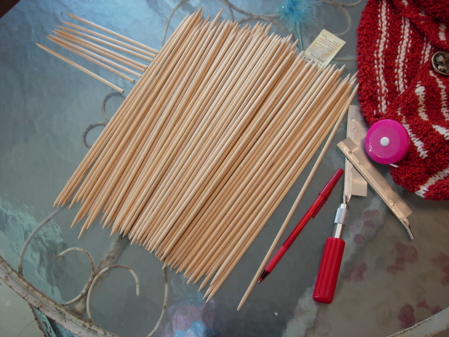
Step Two: (for short needles) Mark the middle of each dowel. Place in the miter box and saw in half. (I didn't have a lot of luck with the miter box, so I did three at a time without the box.)

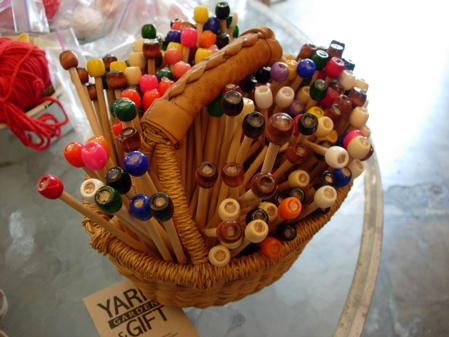
Step Three: Glue the beads to the unshapened ends. I loaded the glue into the bead and centered the needle in the glue. After the glue cools, you can do a last run with the emery board and then use the wax to create an even smoother finish.
 Then, I had the pleasure of using up some yarns from my stash. Eleven yards of Lily cotton on #8's makes a 10 stitch wrist warmer. (This yarn has been teasing me to make a cheese-less christmas sweater, but I chickened out since the colors were also appropriate for the Italian themed event.)
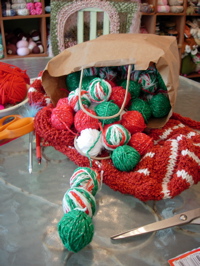
2 comments:
Your sweater is stunning and the way you wrapped it was perfect - I sure hope they appreciate it! Fantastic
the sweater matched the box! too much!!
Post a Comment